
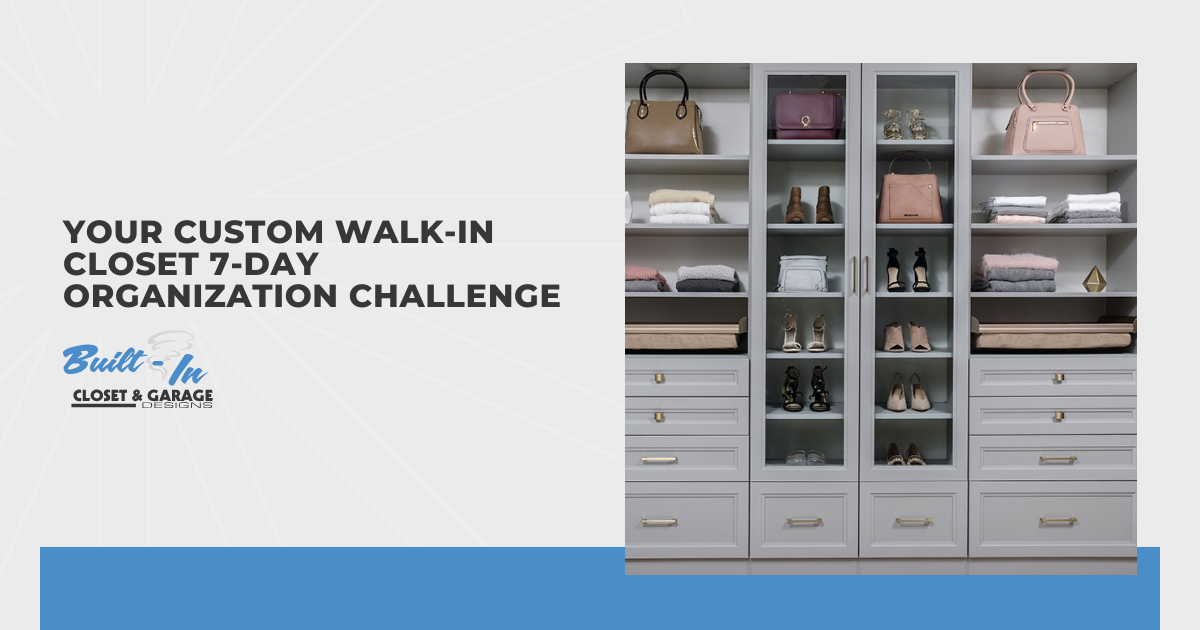
Your Custom Walk-in Closet 7-Day Organization Challenge
Devoting an entire day to organizing a custom walk-in closet is rarely realistic—life is busy, and these projects can feel overwhelming at first. Over the years, I’ve noticed that the most successful closet transformations happen when you break things down into small, focused steps. That’s why I love the idea of a 7-day challenge: dedicating just a little bit of time each day to a single, manageable task. Not only does this make the process feel less daunting, but by the end of the week, your closet will be completely refreshed and far more enjoyable to use.
I’ve guided many clients (and tackled my own closets) using this same method, and I always see better results than when someone tries to rush it all in one afternoon. If you’re ready for a fresh, functional closet you’ll be proud of, give this one-week approach a try.
Here’s a step-by-step plan to get your custom walk-in closet in top shape.
- Day 1: Empty Your Closet
- Day 2: Clean the Closet Space
- Day 3: Take Inventory and Purge
- Day 4: Divide into Zones
- Day 5: Add Accessories and Organizers
- Day 6: Store Out-of-Season Clothes
- Day 7: Restock Your Closet
Ready to transform your space? Keep reading for practical tips and inspiration for each day of the challenge.
Day 1: Empty Your Closet for a Fresh Start
Starting with a completely empty closet is the best way to reveal its potential and make the process manageable from the beginning. Taking everything out creates a blank canvas and helps you see both the space you have and the belongings you need to organize.
Try these tips for an efficient and stress-free start:
- Remove all clothing, shoes, accessories, and storage bins.
- Move items into another room, or use the bed or a large table as a sorting area.
- Sort clothes loosely by type as you pull them out (shirts, pants, dresses, accessories, etc.).
- Snap a “before” picture for motivation.
- Take a moment to appreciate the empty closet. You’ll be surprised at how much more space you have to work with.
This step gives you a clean slate for every part of the challenge ahead.

Day 2: Deep Clean Every Surface
Now that the closet is empty, it’s the perfect time to give every shelf, floor, and drawer a true deep clean. A spotless closet sets the tone for everything that follows and helps protect your freshly organized clothes and accessories.
If you want your closet to feel truly refreshed, take a little extra time with these steps to get every surface sparkling clean:
- Wipe down shelves, rods, and drawers with a gentle cleaner.
- Sweep, vacuum, and mop the floors.
- Dust baseboards, corners, and light fixtures.
- Clean closet doors and handles.
- Check for signs of moisture or mold and address any issues now.
A thoroughly cleaned closet is the perfect foundation for a beautiful, organized result.
Day 3: Inventory, Sort, and Purge for a Lighter Closet
Today is all about figuring out what you really need and letting go of the rest. By being honest about what you use and love, you’ll make space for what matters and set yourself up for lasting organization.
To make the most of your inventory day, try these strategies to keep things focused and productive:
- Count shoes, jeans, and other wardrobe staples so you know how much space to plan for.
- Create “keep,” “donate/sell,” and “discard” piles.
- Try on anything you’re unsure about. If it doesn’t fit or hasn’t been worn in a year, consider letting it go.
- Set aside out-of-season clothes for storage on Day 6.
- Take notes on storage needs (do you have more shoes than you realized? More accessories than you thought?).
Being honest and decisive at this stage will free up valuable space for the items you love and use.
Day 4: Designate Zones for Every Category
With your belongings sorted, it’s time to think about how to arrange them inside your closet for daily convenience and long-term order. Assigning zones to each category will make your closet easier to navigate and maintain.
For a closet that truly supports your daily routine, use these ideas as you map out your storage zones:
- Group similar items together (shirts, pants, long dresses, shoes, accessories).
- Use high shelves for items you rarely need, like formalwear or travel bags.
- Designate one area for daily essentials and another for special-occasion pieces.
- Draw a simple layout or sketch to help visualize where things will live.
- Reserve space for new organizers or accessories you plan to add tomorrow.
With clear zones, you’ll always know where to find what you need and where to put things back.
Day 5: Add Accessories, Organizers, and Smart Storage Solutions
Now’s your chance to add those extra touches that truly make your closet functional and a joy to use. Thoughtful organizers and accessories help keep everything in its place and can prevent clutter from building up again.
If you want to add real functionality (and a touch of fun) to your closet, consider these accessory and organizer ideas:
- Add shelf dividers to separate stacks of clothes or bags.
- Use drawer organizers for jewelry, watches, or ties.
- Install hooks for hats, scarves, belts, or purses.
- Place clear bins or baskets on shelves for small accessories or workout gear.
- Try an over-the-door organizer for shoes or seasonal items.
- Use velvet or slimline hangers to maximize hanging space.
Think about any problem areas you’ve had in the past and add solutions that will prevent those issues from returning.

Day 6: Store Out-of-Season Clothes the Smart Way
A well-organized closet isn’t just about what you keep inside; it’s also about knowing what should be stored elsewhere until you need it again. Safely tucking away out-of-season clothing will give you more space and make your daily routine easier.
To keep your wardrobe rotation simple and your closet uncluttered, use these tried-and-true storage tips:
- Use breathable linen or cotton storage containers instead of plastic.
- Label bins so you can easily find items next season.
- Store off-season items on high shelves, under the bed, or in a separate closet.
- Vacuum-seal bulky coats or sweaters to save space.
- Set a reminder to rotate your wardrobe as seasons change.
Putting away these clothes now makes it much easier to keep your in-season items accessible and your closet organized.
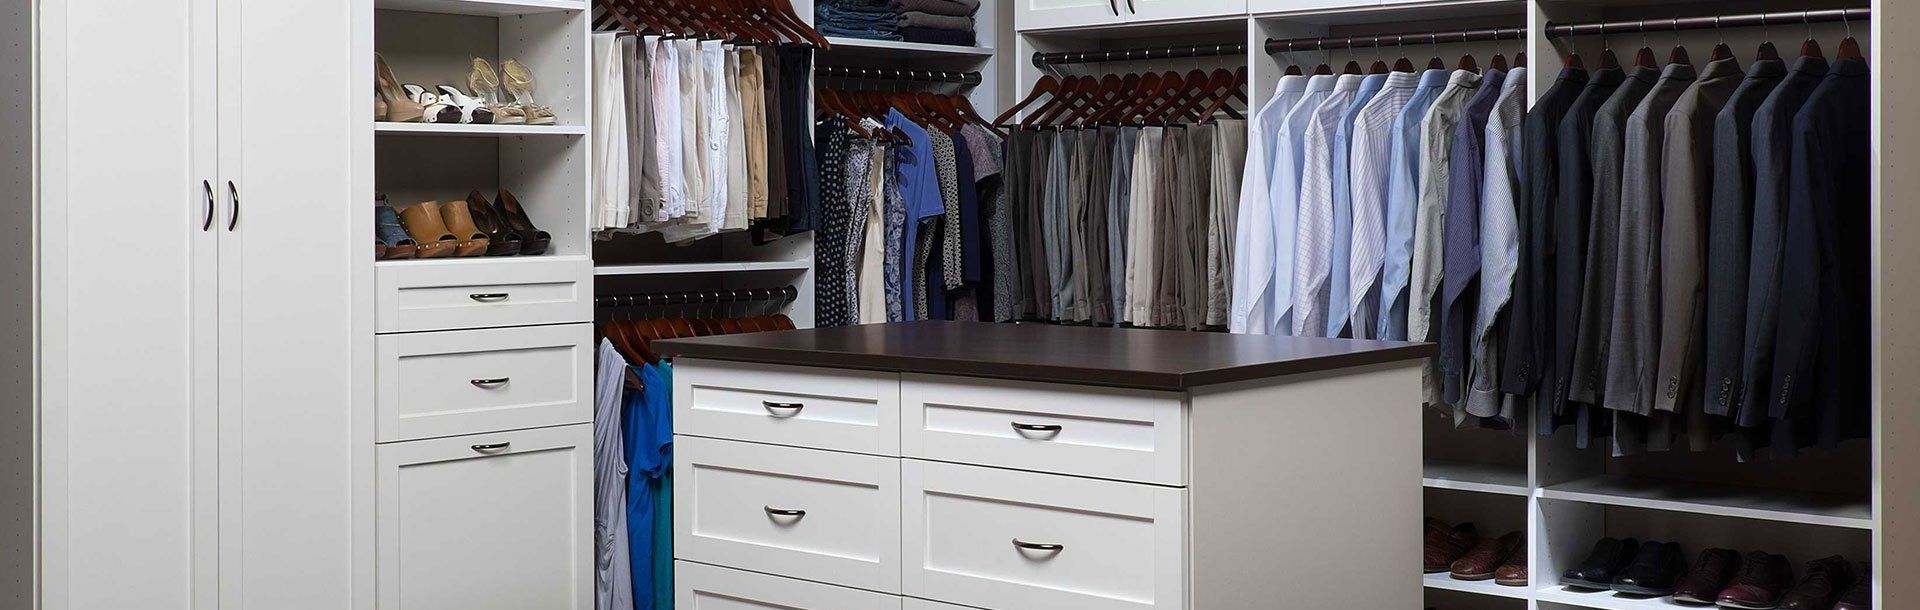
Day 7: Restock and Style for the Perfect Finish
The final step is the most satisfying: moving your freshly sorted, clean, and organized items back into your walk-in closet. Take your time placing each item into its designated zone for a closet that’s both attractive and efficient.
For a closet that feels both beautiful and functional, keep these finishing touches in mind as you restock:
- Hang or fold each item neatly, using your new storage tools and organizers.
- Style shelves or display your favorite bags for a boutique feel.
- Keep a small box or basket in your closet for future donations or repairs.
- Step back and admire your new, organized space.
- Take an “after” photo so you can see how far you’ve come.
This is the step where all your effort pays off and your walk-in closet finally feels both beautiful and functional.
Conclusion: Enjoy Your Freshly Organized Walk-In Closet
In just one week, you can transform your walk-in closet from cluttered and overwhelming to organized and inspiring. I’ve seen firsthand how this simple, daily approach can turn even the messiest closet into a space you look forward to using each day. Not only does it make getting dressed easier, but it brings a sense of calm and order to your whole routine. Whether you’re a busy professional, a parent, or simply ready for a fresh start, this 7-day challenge is an approachable way to create a closet you’ll love. Give it a try, and enjoy the results every time you open your closet door.
Source

QUICK LINKS
CONTACT INFO
Built-In Closet and Garage Designs
11692 Mantova Bay Cir, Boynton Beach, FL, 33473
Phone
New Paragraph
SCHEDULE A CONSULTATION
Contact us, and we will come out and discuss your project free of charge.